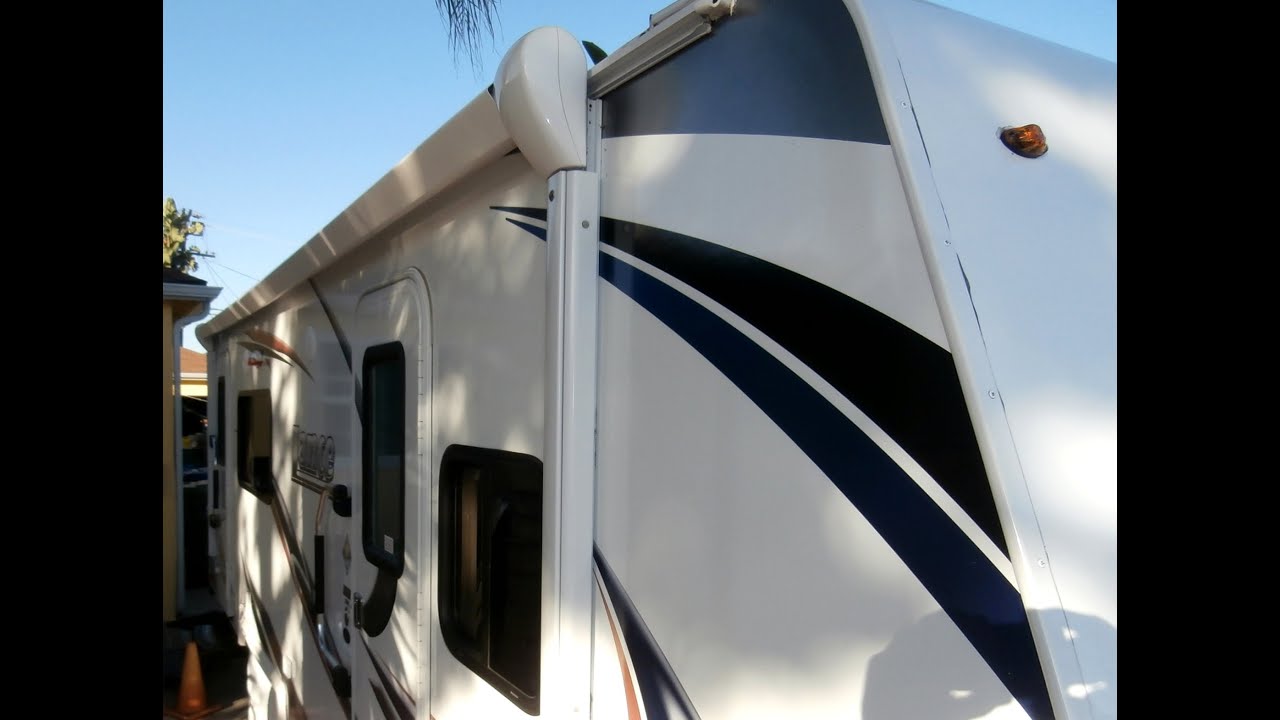
Rv Awning Spring Tension Adjustment

Rv Awning Repair Re Tensioning The Spring Doityourself Com

Rv Awning Tension Adjustment Service In Chehalis Olympia Wa Awesome Rv
Rv Awning Repair Read This Before Starting Your Repair Rvshare Com

Rv Awning Repair Releasing The Spring Tension Camper Awnings Rv Awning

Awning Adjustment Youtube
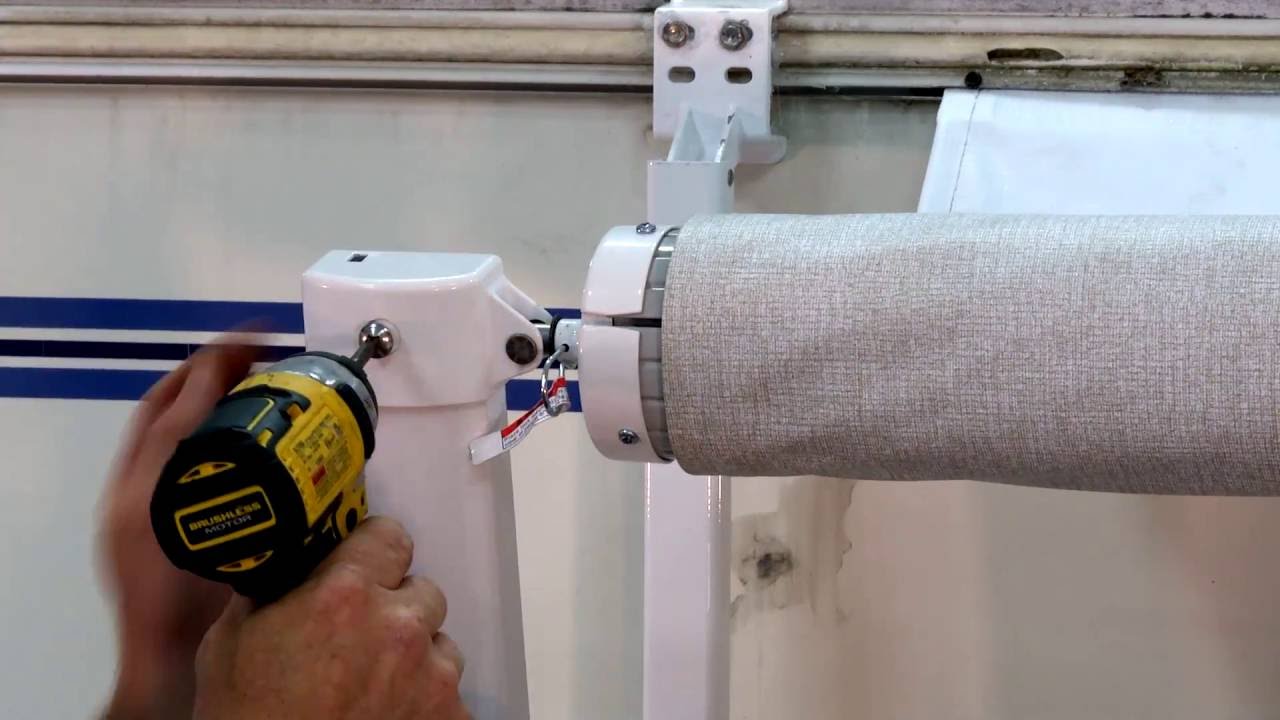
Solera Awning Replacing A Manual Awning Spring Assembly Youtube
See our channel page for link the home on the road series consists of three 2 dvd.
Rv awning spring tension adjustment.
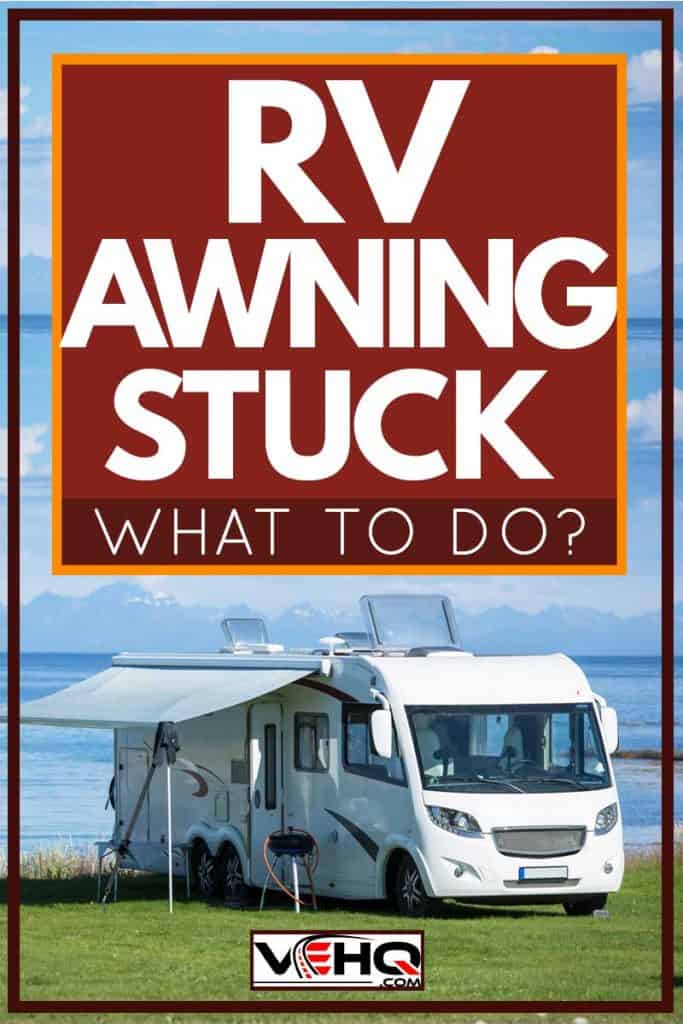
Rv Awning Stuck What To Do Vehicle Hq
Power Awning Won T Retract How To Test And Replace Rv Awning Motor

This Is How I Use A Pvc Tube As A Tarp Awning Leg I Drill A Hole Through The End And Tie A Rope Through It A Spring Clip Holds I

Replacing Rv Awning 2 0 The Easier Way To Do This Youtube

Don T Make These Mistakes With Your Rv Awning Rv Groovin Life

Camptech Accessories Our Storm Strap Kit Is Suitable For Camptech Traditional All Seasonal Full Awnings Produced 2016 2017 To Present Day A Perfect Extra
What To Do When An Awning Won T Go In Rv Repair Club Q A
Carefree Up15762jv Sok Iii Slide Out Rv Awning Camperid Com
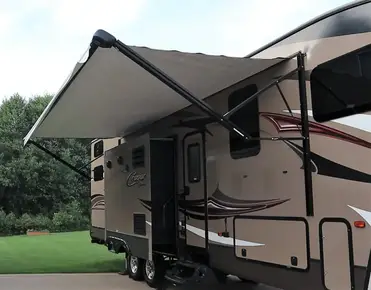
Solera 12v Power Rv Awning Conversion Kit Universal 69 Arms White Lippert Components Accessories And Parts Lc434724

Dometic Rv Awning Maintenance Lubrication Youtube

Dometic A E Awnings Rainwear Camper Awnings Rv Campers Motorhome Awning

Pin On Hairstyles

Homemade Rv Awning Cleaner Rvblogger
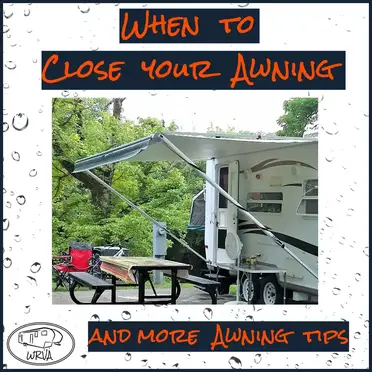
Can You Keep Your Rv Awning Out During Rain And More Awning Tips

Carefree S Universal Replacement Canopy On A Solera Awning Youtube

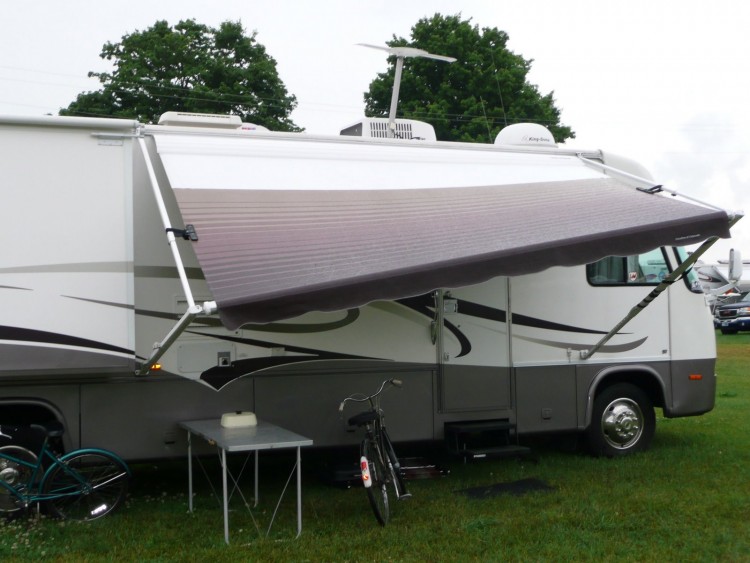
Best Rv Awnings Of 2020 Top Models Reviewed Rv Expertise

Dometic 9100 Rv Power Awning Youtube

Failed Rv Power Door Awning Repaired For Free Dometic Oasis Elite Awning Repair Rv Diy Repair Youtube
Https Encrypted Tbn0 Gstatic Com Images Q Tbn 3aand9gcqtemit0seflge3mju1oa Bswbnn3k4qwwvny07ggmtxt1en7xk Usqp Cau
Rv Awning End Caps Homideal

A E 8500 Rv Awning Youtube
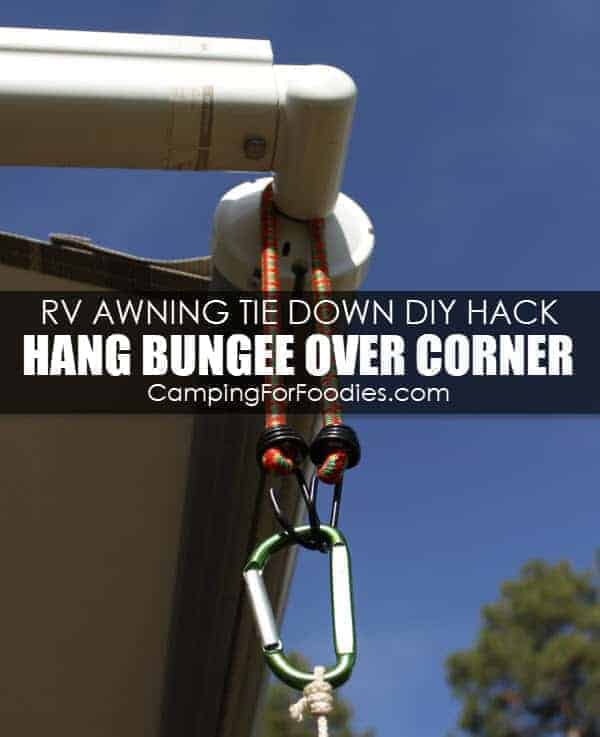
Genius Rv Awning Tie Down Hack How To Diy Video With 5 Simple Supplies
5 Best Rv Awnings Sept 2020 Bestreviews

Faulkner Rv Awning Parts
Source : pinterest.com
